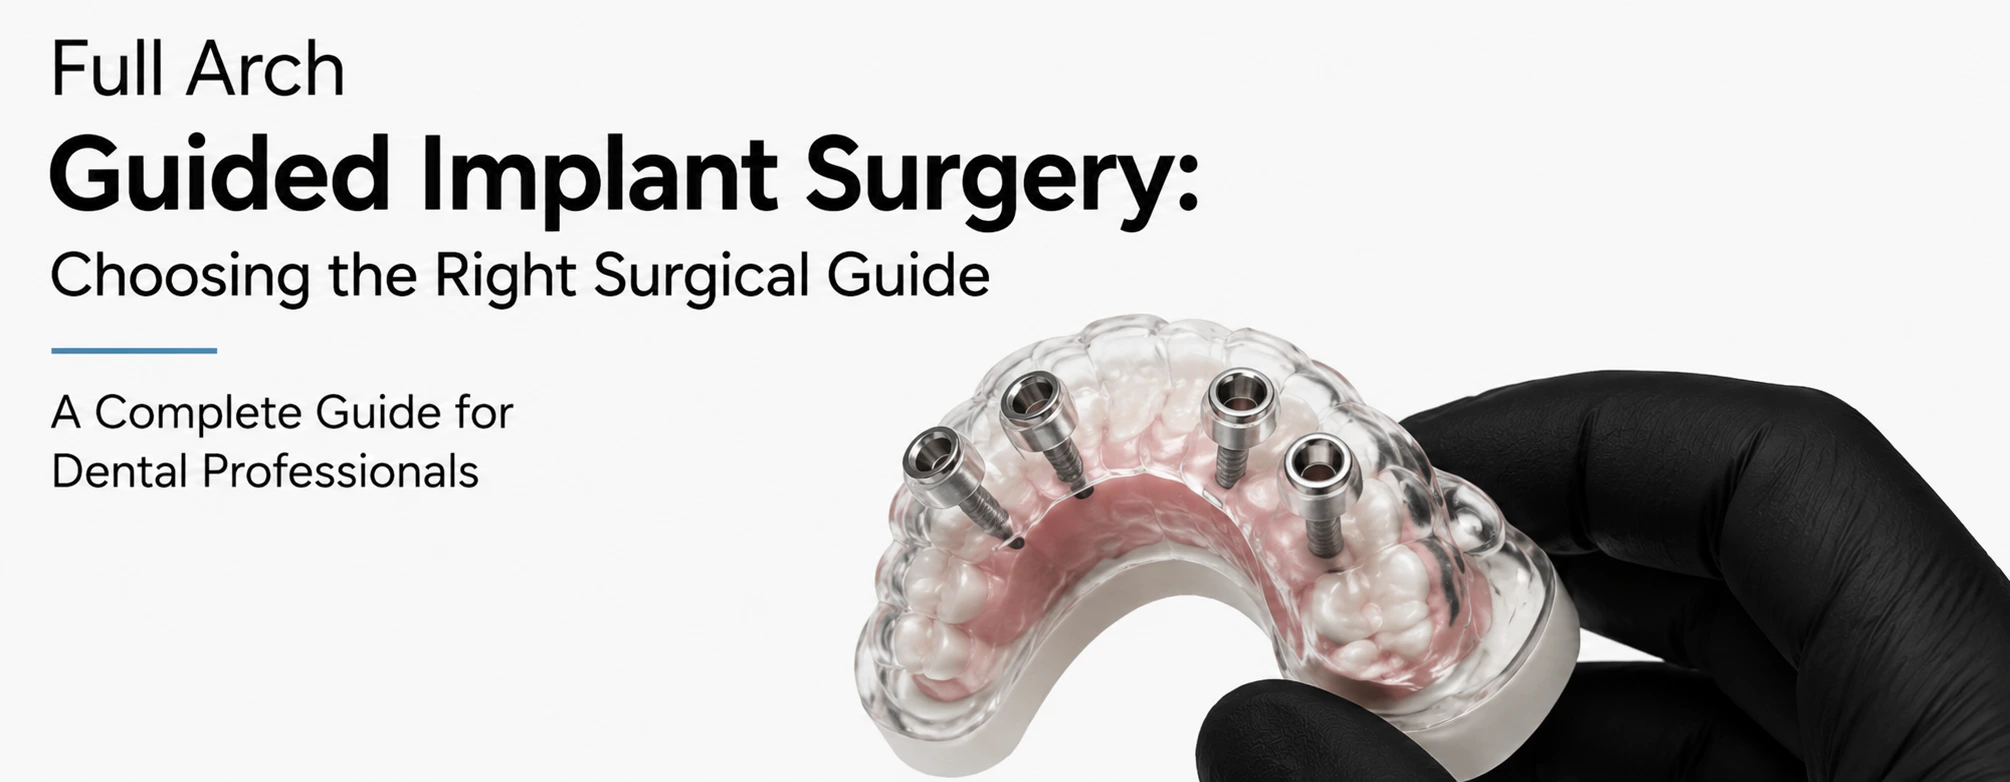
Full Arch Guided Implant Surgery: Choosing the Right Surgical Guide
Transitioning to a full-arch implant rehabilitation is considered one of the most rewarding milestones in a dental career. However, moving from single-unit placements to a complete arch introduces complex restorative and anatomical challenges. This is highly achievable, and the outcome is dependent on incorporating full-arch guided implant surgery into your practice, which is now standard practice. When looking to dig into the digital workflow, you will primarily encounter two types of templates: the traditional static surgical guide and the multi-layered stackable surgical guide system. For orthopedic clinicians, it would be a challenge to understand the operational and structural differences between these two systems, which is critical.
What Is a Static Surgical Guide?
A static surgical guide for implants can be described as a single-piece template designed to replicate a highly precise, pre-planned digital treatment plan directly in the patient’s mouth. It features pre-drilled channels, often fitted with metallic master sleeves, that physically restrict the surgical drill’s path, depth, and angulation. This is called “static” because the guide template itself cannot be changed or altered during the osteotomy phase.
How is a static guide fabricated?
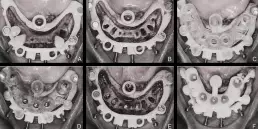
When it is time to curate a static guide, it relies on a completely digital surgical guide workflow. The first step is to capture the patient’s hard tissue anatomy using a Cone Beam Computed Tomography (CBCT) scan for guided implant placement. Simultaneously, the surface topology of the intraoral tissues and existing dentition is captured via an intraoral scanner (IOS). These two datasets (DICOM and STL files) are merged into specialized implant planning software. The clinician and dental laboratory technician plan the ideal, restoratively driven implant position. Once approved, the software exports a 3D model of the guide, which is then fabricated using medical-grade resin via stereolithography (SLA) or digital light processing (DLP) 3D printing or precise CNC milling.
How does it work during implant surgery?
During the procedure, it is ensured that the guide is securely inserted in the patient’s mouth. It depends on the patient’s dentition status; it can be tooth-borne, mucosa-borne, or bone-borne. For edentulous patients, anchor pins (also known as fixation screws) are used to prevent the guide from micro-shifting. Once secured, the clinician must drill through the master sleeve using a dedicated guided surgery kit. The drills feature physical stops that hit the lip of the sleeve, preventing over-preparation of the bone. After the osteotomies are complete, the implants are driven directly through the same guide sleeves to guarantee identical angulation.
What cases it is designed for:
Although static guides are known for their versatility, they are curated for cases with minimal to moderate anatomical complexity.
They basically excel in:
Single Crowns and Short-span
Bridges are present where existing teeth provide excellent stability.
Fully Edentulous Arches
Adequate, uniform bone volume that does not require bone leveling.
Flapless Implant Surgery Guide
This allows for faster healing times and reduced discomfort in tissues.
What Is a Stackable Surgical Guide System?
When full arch rehabilitation was first put under consideration and had evolved, clinicians realized that a single static template could not easily accommodate the multiple steps required for immediate extractions, bone leveling, implant placement, and immediate provisional delivery. This led to an innovative model, a stackable surgical guidance system. A stackable guide is a modular, multi-tiered system that involves a single, rigidly fixed base guide onto which secondary functional guides are sequentially attached and swapped out.
[Base Guide / Bone Anchor]
│
├──> Layer 1: Bone Reduction Guide
│
├──> Layer 2: Implant Position Guide (Osteotomy)
│
└──> Layer 3: Immediate Provisional / Restorative Guide
How Is a Stackable Guide System Fabricated?
In this process, fabrication follows an advanced full arch implant planning guide protocol using a strict “top-down” approach. This requires a highly detailed dual-scan technique or a desktop scan of a verified wax-up. The planning software is built specifically to work simultaneously to hasten the workup, which calculates the prosthetic smile line, required bone reduction depth, and ideal implant trajectories. The interlocking modular pieces are then 3D-printed with embedded neodymium magnets and mechanical locking pins to ensure zero rotational play during layer transitions.
How Does Each Guide Work in Sequence?
The surgery unfolds in precise, logical phases using modular components:
- The Base Guide: This one is seated directly onto the bone (or remaining tooth before extraction) after reflecting a full-thickness flap. It requires being seated tightly with heavy-duty fixation pins and remains completely undisturbed throughout the entire surgery.
- Bone Reduction Guides: In this category are those that snap directly onto the base guide, creating a physical shelf or window that shows the clinician exactly how much ridge height must be removed.
- Implant Placement Guide: This one replaces the bone reduction module. This layer comprises of the master sleeves for the osteotomies, guiding the drills and implants into place at the exact pre-planned trajectories.
- Provisional Guide: This will snap onto the base last. It perfectly indexes the prefabricated immediate provisional bridge to the newly placed implants for a fast, predictable chairside pickup.
What Cases It Is Designed For:
These cases are curated to the patient’s preferences, as they are complex, comprehensive, full-arch reconstructions.
They are the premier choice for:
- All-on-4 surgical guide applications and all-on-X treatments significantly require alveoloplasty to create restorative room.
- Terminal edentulism cases where extractions, severe ridge irregularities, and immediate conversion of a provisional prosthesis are happening concurrently in a single appointment.
Stackable vs Static Surgical Guides: Key Differences
| Feature | Static Surgical Guide | Stackable Surgical Guide System |
|---|---|---|
| Primary Use Case | Single/Multiple units; flat ridges | Complex full arch, immediate load |
| Components | Single-piece template | Multi-piece modular system |
| Bone Reduction | Manual / Blind estimation | Integrated, precise physical shelf |
| Chairside Time | Moderate (requires manual conversion) | Highly efficient prosthetic pickup |
| Planning Complexity | Moderate | High (requires strict top-down workflow) |
Frequently Asked Questions
Explore the information below to better understand when surgical guides are recommended and how they can improve surgical accuracy, efficiency, and patient outcomes.
When to use a surgical guide?
A surgical guide cost comparison reveals that a standard static guide is relatively inexpensive when the question of fabrication arises, whether printed in-office or outsourced. A stackable surgical guide system carries a higher upfront laboratory fee due to the complex multi-layer design and embedded magnets. However, this cost is often offset by the drastic reduction in expensive chairside surgical and prosthetic conversion time.
Generally, no. Because stackable guides are designed for cases that are adamant about ridge modification, they necessitate a full-thickness flap to seat the base guide directly on the bone. If your clinical goal is a less invasive approach, flapless implant surgery guided using a tissue-borne static template is the correct choice for you.
Latest News

What Is a Stable Surgical Guide? A Complete Introduction for Dental Professionals
A stable surgical guide is a key factor in successful implant dentistry, ensuring precise transfer of digital plans into the patient’s mouth. Excellence in 2026.
Stackable Surgical Guides in Dentistry: The Future of Precise Dental Implants Surgery
Advances in intraoral scanning, optimized scan protocols, and lab-driven validation provide clinicians and dental labs with powerful tools for excellence in 2025.
ICAM Photogrammetry: How Confident Dental Lab Delivers Once‑Impossible Full‑Arch Implant Precision
Advances in intraoral scanning, optimized scan protocols, and lab-driven validation provide clinicians and dental labs with powerful tools for excellence in 2025.
Zirconia Crowns: Benefits, Types, and Why Dentists Prefer Them
Zirconia crowns consist of zirconium dioxide, a crystalline ceramic engineered for exceptional toughness in restorative dentistry.